Import Your Assets
Assets can be imported from older CMMS packages using CSV files only (comma-separated values). The CSV file to import assets should have one 'header' line, which contains column names, and then one line for each asset to be imported.
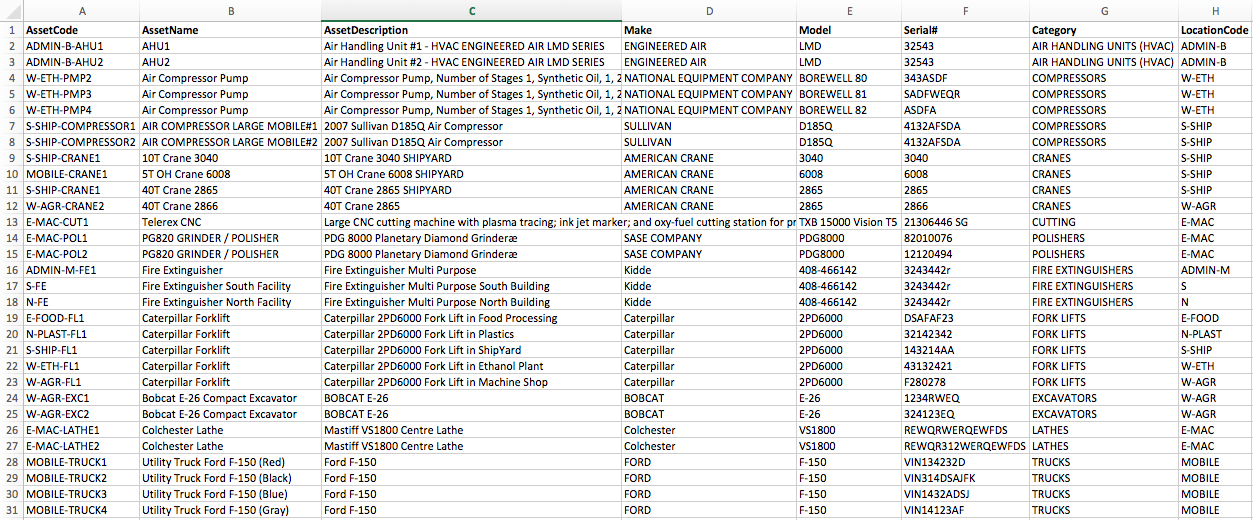
1. Select Save as CSV file when closing in Excel. This is an example:
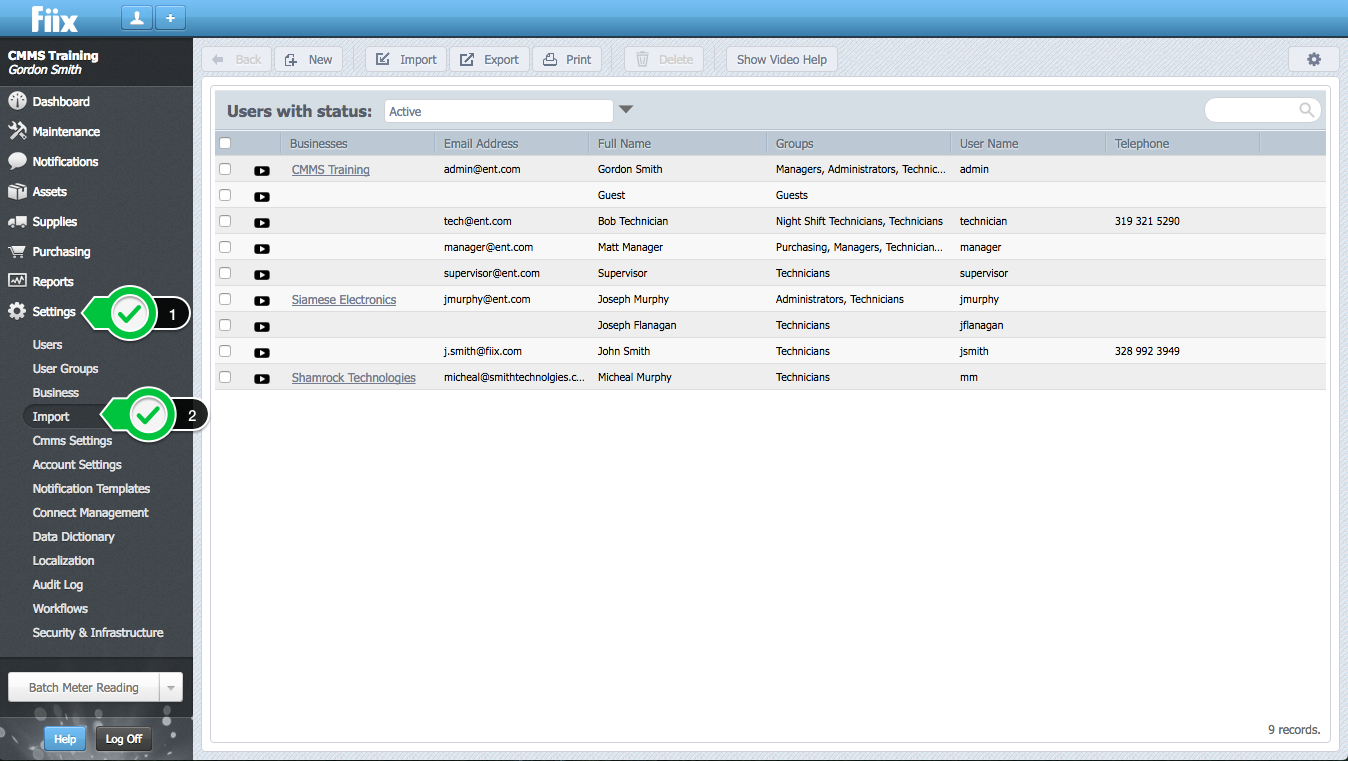
2. Navigate to Settings - Import as shown below.
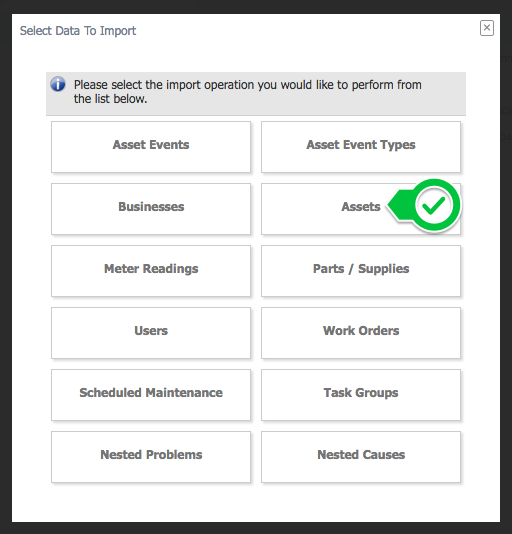
3. Selecting Import brings up the following box. From here you will click Assets to start the asset import.
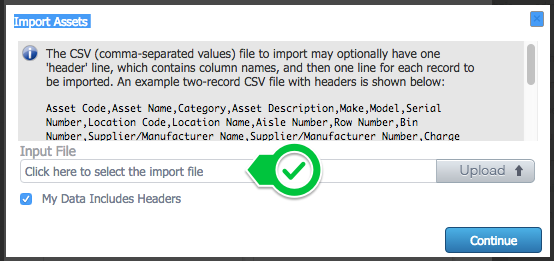
4. Click into the Input File box to locate your file on your drive. Click Continue when the file has been selected.
5. Select the appropriate Default Asset Category from the drop down menu. This is the category that the assets will be imported into if no category is specified.
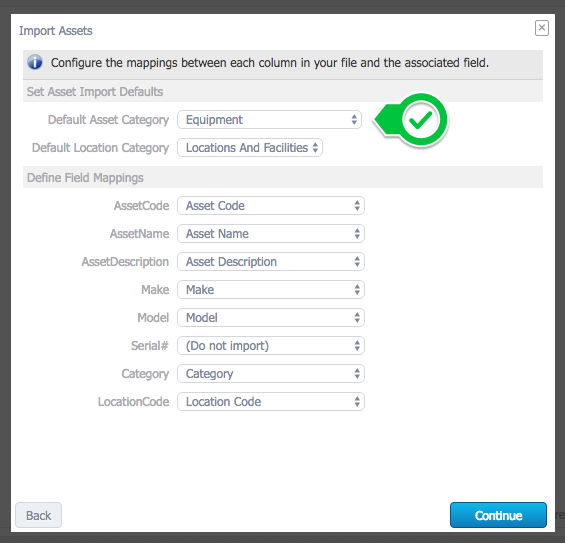
6. Define the field mappings by matching the header item in the file to the corresponding item from the drop down menu. The Fields on the left are from the CSV file, the fields in the drop downs are CMMS fields.
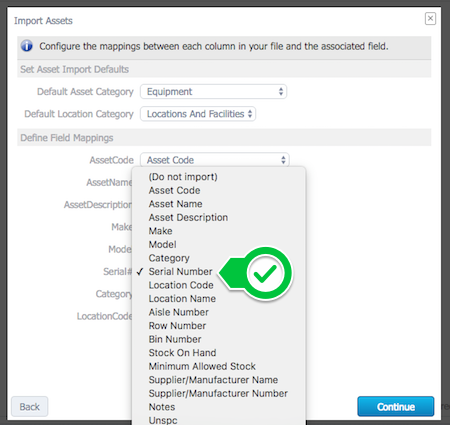
Note: (Do Not Import) means the import tool could not match the column to a field in the CMMS. You can choose to map those fields manually, or not import them.
In this case, the 'Serial#' column from the CSV file wasn't an exact match with that of the CMMS's, since the CMMS field is spelled differently. The CMMS field is spelled 'Serial Number' as opposed to 'Serial#'; therefore, that column needs to be mapped manually as per below.
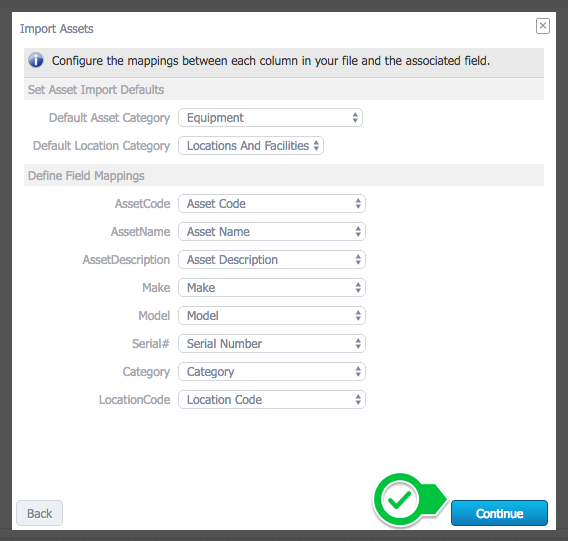
7. When all the fields are mapped, click Continue to commence the import.
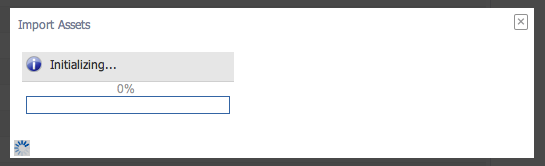
8. The Import will commence and the CMMS will start looking for errors in the file.
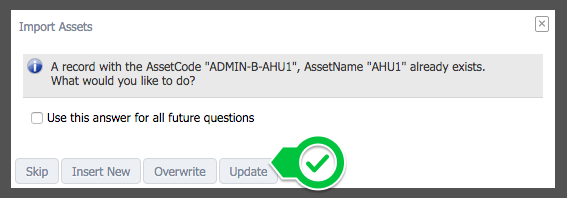
9. If your file has errors or warnings, you will see the details in the import screen. In this case, the CMMS has detected that one of the line items in the CMMS is already in the system. We have the option to either skip, insert another, overwrite, or update. You can select the "Use this answer for all future questions" if the same response is desired for all equipment.
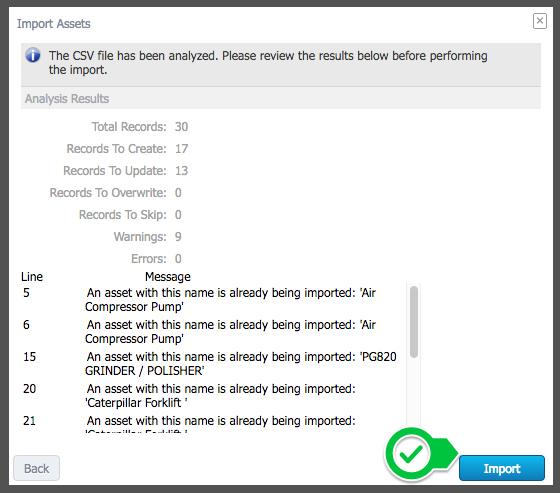
10. The CMMS will provide a Summary of your choices. Select Import to confirm.
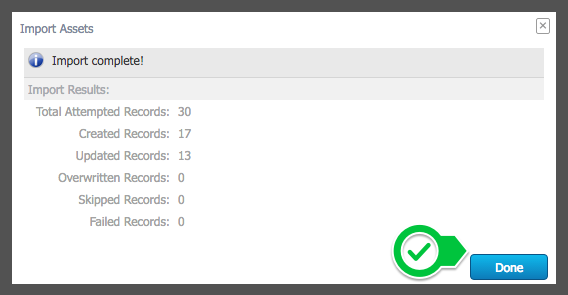
11. The Equipment import is now complete. You can select Done to check your work in the Asset Menu.
Related Articles
ZenduMA - Adding Equipment assets
This article explains how to add equipment assets: Setting up your equipment assets is similar to the Add Locations and Facilities procedure. You can add as many pieces of equipment as you like, and you can also shape your hierarchy, creating ...ZenduMaintenance - Excel template to import data
Templates Please refer to the article link below, which contains all of the templates: Data import overview Also, we would suggest importing just a few records at first to make sure that everything works out as you have intended, and only then import ...Unable to delete assets in ZenduMa
There may be a chance that even after everything has been deleted, there may be records not available on the front end to delete. As well, if the current logs are important to keep, an alternative method of putting this asset into an asset ...Import Assets with Multiple Users/Suppliers
Overview In order to import assets that have multiple users and/or suppliers, the CSV file upload is repeated following adjustments to the columns containing the multiples. 1. Create an Asset CSV with supplier and/or user personnel code criteria. ...Import Asset, Child, & Grand Child Assets
Overview This article will outline how to import a parent asset, and its respective child and grand child assets, making the building of your asset hierarchy that bit quicker and easier. 1. Prepare the assets in Excel and save as CSV format. The 1st ...